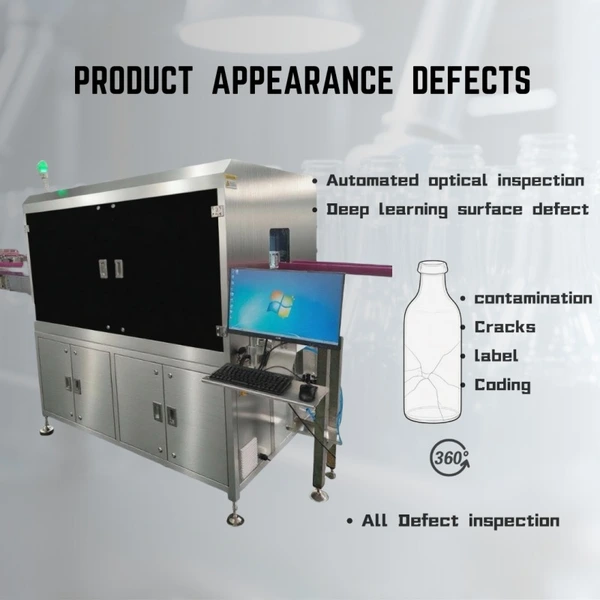
Glass Bottle Visual Inspection Machine & Defect Detection System
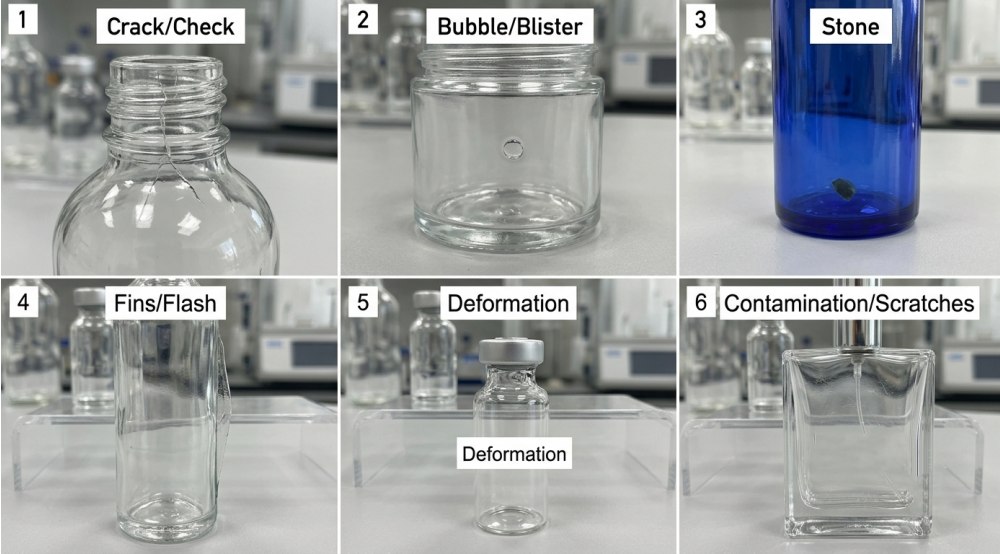
Explanation of Empty Bottle Testing Content | |||
Testing station | Camera no |
Detection location |
Defect content |
NO.1 |
1 |
Bottle toop |
Gaps, cracks |
NO.2 |
3 |
bottle body |
Cracks, dirt, foreign objects |
NO. 3 |
1 |
bottle bottom |
Foreign objects, dirt, damage |
NO. 4 |
3 |
Bottle neck |
Cracks, damage, dirt |
*The visual inspection configuration and the number of lenses depend on the functional requirements of the production line and the size of the bottles.
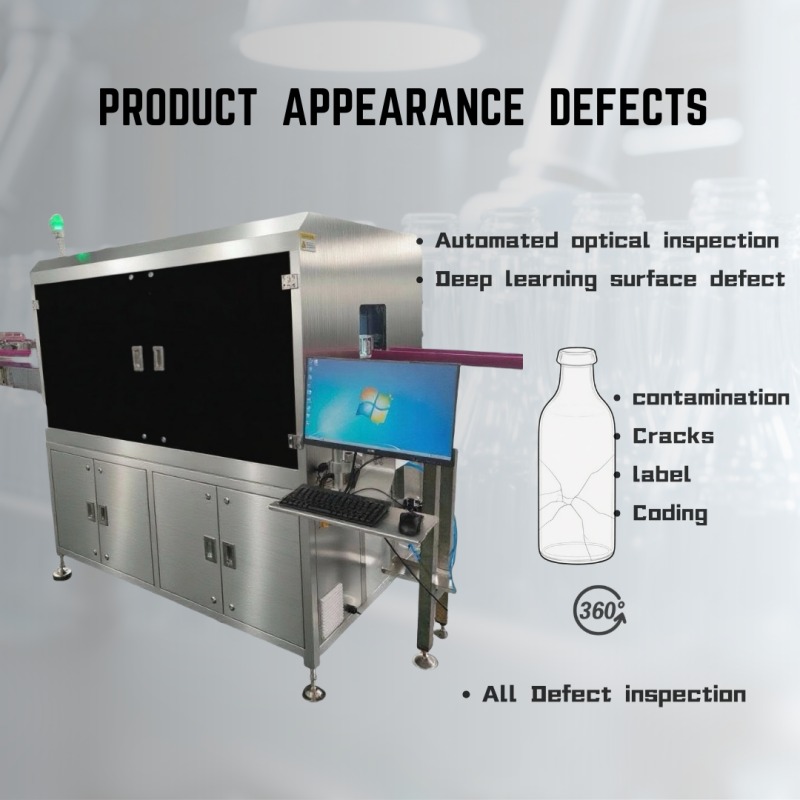
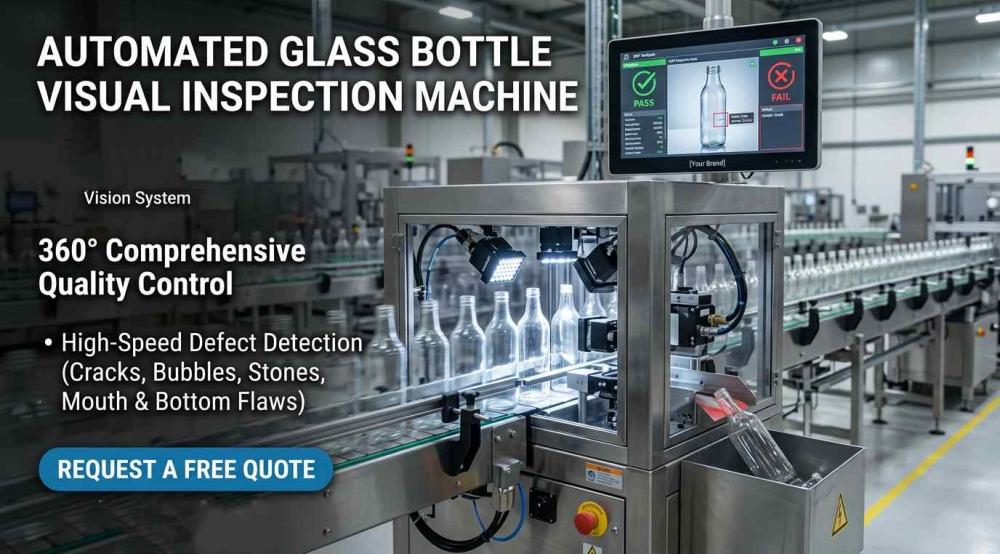
High-Speed Glass Bottle Inspection Machine
Serial No. | Sub-items | Project Name | brand | Qty | unit |
1 | Visual inspection | Industrial camera + cable | Hikvision 5-megapixel industrial camera | 5 | PCS |
2 | High-precision industrial lenses | Newvin matching lens | 5 | ||
3 | Visual light source + controller | Newvin dedicated light source | 5 | PCS | |
4 | Detection software | Newvin AI Large Models | 1 | PCS | |
5 | monitor | 15.6-inch touchscreen | 1 | PCS | |
6 | Industrial PC | i7 generation | 1 | PCS | |
7 | Mechanical motion control terminal | Visual motion control system | Newvin of IO control card | 1 | PCS |
8 | Exclusion Agency | SMC | 1 | PCS | |
9 | Camera tripod + protective cover | food grade | 5 | PCS | |
10 | encoder | Omron | 1 | PCS | |
11 | main materials of equipment | 304 stainless steel | 1 | PCS | |
12 | Other cables and accessories | Ming Wei | several | PCS | |
13 | photoelectric sensor | Leuze/Keyence | 1 | PCS |
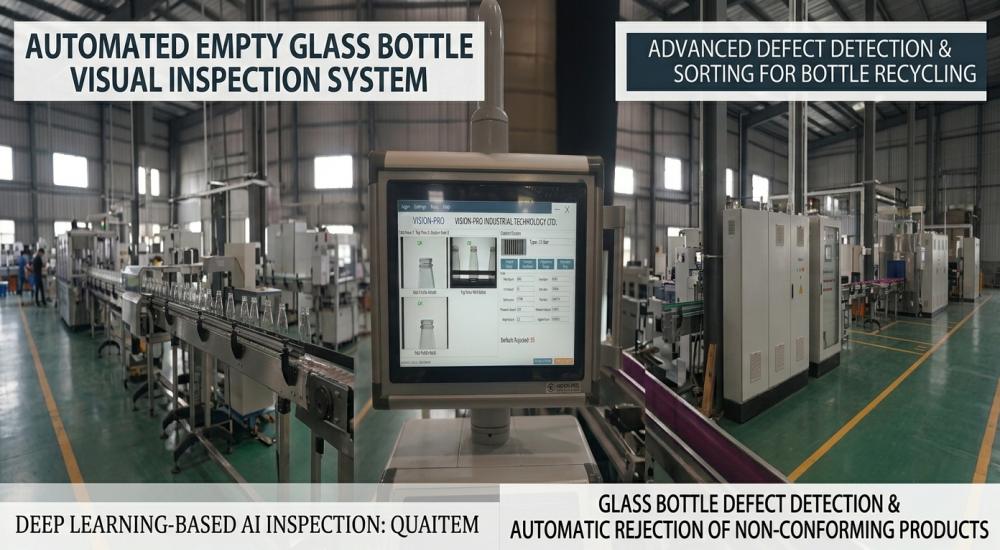
Machine parameters:
Serial No. | Project | Illustrate | Remark |
1 | Erection method | Online testing | |
2 | operating system | Research and Development of New AI Large Models | |
3 | Equipment Model | YX- QX108 | |
4 | Image precision | 1mm | |
5 | Power supply and temperature | AC220V ; 0 ~40℃; | |
6 | Product Type | glass bottle | |
7 | Detecting beats | 1800 bottles/hour | |
8 | Technical Support | Remote debugging | |
9 | Elimination type | Bottle mouth defects, oil stains | |
10 | Equipment size | Determined based on actual circumstances | |
11 | Equipment Standards | IP30 (National Standard) | |
12 | Elimination method | Cylinder rejection | |
13 | Material Incoming Spacing | ≥5cm |
Equipment testing capability parameters:
Serial Number | project | Test content | Testing conditions | Standard quantity | accuracy |
1 | bottle cap | dent | In the image, there are depressions within the detection area with a grayscale difference of 50 or higher and an area ≥ 2mm * 3mm. | 1000 | ≥99.9% |
2 | scratches | Scratches with a grayscale difference of 50 or higher and an area ≥1mm*3mm within the visible detection area of the image. | 1000 | ≥99.9% | |
3 | Safety loop 100% broken or missing | ≥0.5mm gap | 1000 | ≥99.9% | |
4 | Safety ring ≥70% broken or missing | 1000 | ≥99.8% | ||
5 | Safety ring ≥50% broken or missing | 1000 | ≥99.7% | ||
6 | Safety ring ≥30% broken or missing | 1000 | ≥99.5% |
Note: 1. The conveyor chain does not experience bottle jamming, bottle tipping, or bottle touching, and the entire conveyor chain operates smoothly.
2. Product inlet spacing ≥ 5cm
3. Detection rate and false detection rate are affected by factors such as product consistency, on-site environment, and transportation stability.
Visual inspection installation
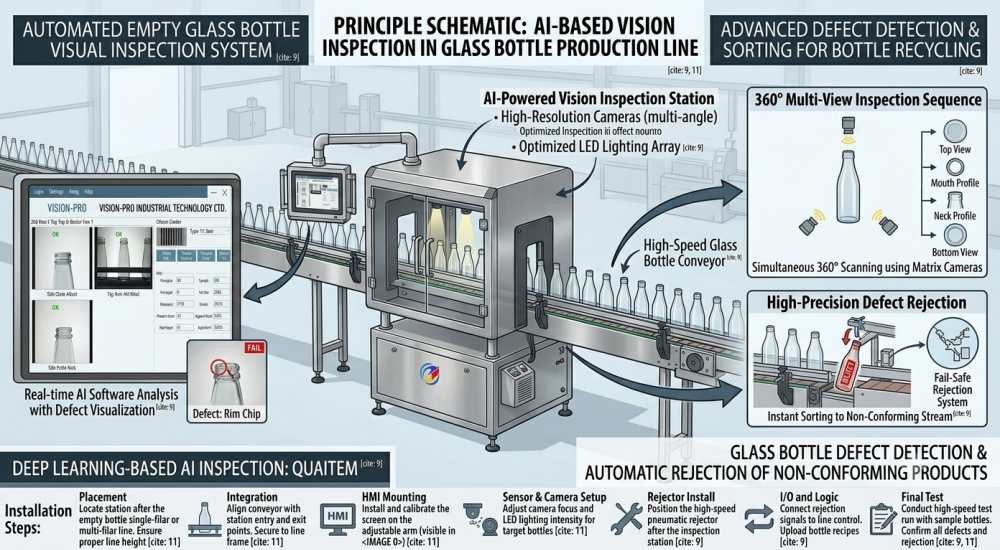
Installation precautions-Glass Bottle Vision Inspection Equipment installation
Step 1: Site Selection & Preparation
Action: Choose a stable, vibration-free section of the conveyor belt. Clean the surrounding environment to minimize dust.
English Explanation: "First, we need to locate a stable section of the conveyor line. Vibration is the biggest enemy of vision systems, so avoid placing the equipment near heavy motors or sorting mechanisms. Ensure the area is clean and free of excessive dust."
Step 2: Mechanical Frame Setup
Action: Mount the inspection frame over or alongside the conveyor. Adjust the height and levelness.
English Explanation: "Next, install the mechanical frame. Secure it firmly to the conveyor structure or the floor. Use a spirit level to ensure the frame is perfectly horizontal and vertical. This guarantees that the cameras will look at the bottles from the correct angles."
Step 3: Optical & Camera System Positioning
Action: Install the industrial cameras, lenses, and LED light sources (backlight/ring light).
English Explanation: "Third, we install the optical components. Mount the cameras and the LED light sources according to the design specifications. Adjust the Working Distance (WD) between the lens and the bottles, and ensure the backlight or ring light is aligned perfectly with the camera's field of view."
Step 4: Sensor & Encoder Integration
Action: Install the trigger sensor (photoelectric sensor) and the rotary encoder on the conveyor.
English Explanation: "Fourth, integrate the triggering system. Install the photoelectric sensor to detect when a bottle arrives, and connect the encoder to track the conveyor speed. This ensures the camera triggers at the exact microsecond the bottle passes the inspection zone."
Step 5: Wiring & Power-On Test
Action: Connect power cables, GigE/USB data cables, and I/O rejector cables. Power on for initial testing.
English Explanation: "Finally, route the cables. Separate the power lines from the data lines to prevent signal interference. Once all connections are secure, power on the system and launch the inspection software to check the live video feed."
Part 2: Critical Precautions
"To ensure the system runs smoothly and avoids false rejects, please strictly observe the following precautions during installation."
Avoid Ambient Light Interference
English: "Industrial vision systems are highly sensitive to ambient light. Avoid installing the equipment near windows or directly under flickering factory lights. If necessary, install a light-shielding hood (darkroom) over the inspection zone."
Lens Protection & Cleanliness
English: "Never touch the optical lens with your bare hands. Fingerprints and dust will severely degrade image quality. Always use professional lens cleaning paper and keep the protective covers on until the final calibration."
Anti-Vibration Measures
English: "Ensure the conveyor belt runs smoothly. If the glass bottles wobble or vibrate excessively when passing the camera, it will cause motion blur and inconsistent inspection results."
Cable Management & Grounding
English: "High-speed cameras require stable data transmission. Do not bend GigE or fiber optic cables sharply. More importantly, ensure the equipment is properly grounded to eliminate static electricity and electrical noise from the conveyor motors."
Rejector Alignment
English: "The pneumatic rejector must be perfectly aligned with the tracking distance calculated by the encoder. If the physical distance between the camera and the rejector changes even by a few millimeters, the wrong bottle might be rejected."